Every hunter knows the moment. The tag is filled, the adrenaline fades, and the real work begins. There is nothing wrong with dropping a deer off a a reputable processor, but learning how to handle an animal yourself is a different kind of inheritance. It’s knowledge passed down hand to hand, generation to generation.
My own education started with my maternal grandfather and my dad, both gone now, both teachers in ways that mattered. Making venison jerky is one of the ways I still feel connected to them. It’s slow, deliberate work. And when done right, it turns a hindquarter into something far greater than the sum of its parts.
This article isn’t a full guide to deer processing. We’re focusing on one thing only: making mouthwatering venison jerky, from hindquarters to finished strips.
Setting the Stage
Jerky begins long before slicing. Do not be in a hurry. Let the backstrap and hindquarters cool off either outside if the weather permits, placed in a cooler with a generous amount of ice loosely laid in the bottom, or in the refrigerator. My backstraps are generally left outside to cool while the rest of the deer is handled, then placed in large Ziplocs to accompany me home to the fridge.
Hindquarters hit the cooler after being left outside, as conditions/time allow. A good cool down, spanning a few days, really facilitates enhanced taste and easier processing.
Advertisement — Continue Reading Below
Breaking Down the Hindquarters
Jerky lives in the rear legs. To avoid any confusion, backstraps are the delicious long muscles that run on either side of the spine OUTSIDE the body cavity. I bring this up because it is often confused with the tenderloins that are also located near the spine on the inside. Tenderloins are prime-time, savory, but much smaller than the backstrap. Tenderloins aren’t what you would use to make jerky.
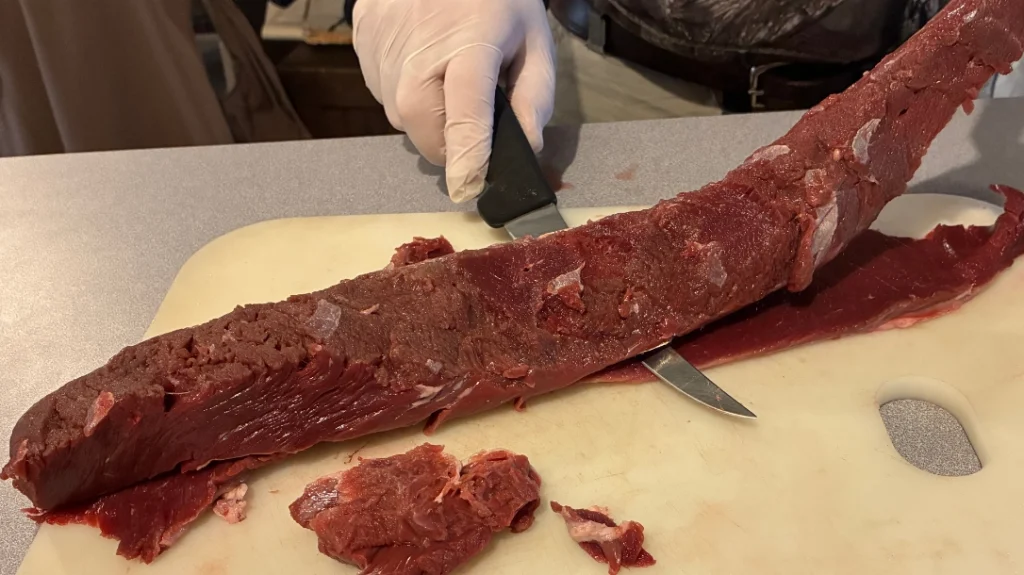
Instead of haphazardly cutting chunks of meat from the rear haunches, pay attention to detail and get the meat broken down into its respective cuts, such as eye of round, bottom & top round, sirloin, tri-tip, etc. When properly aged/chilled, the different segments separate quite easily, requiring minimal knife work with your fingers doing much of the labor.
Silver Skin
With the backstrap important to get the “silver skin” off. This is the silver/white connective tissue that contains and connects muscle fibers to each other and the skeleton. I have seen articles advocating leaving on, especially if preparing via slow heating/cooking. This will be a topic for another day. For jerky purposes, the silver skin comes off as it can distract with chewiness and negative flavor.
To remove the silver skin, place the backstrap silver skin down on the cutting surface. I make a cut about a ½-inch from the end of the backstrap to create an opening for my knife to get down to the silver skin, then slide my knife down the length of the backstrap at an approximate 15-30 degree angle. Once done a few times, it is a slick, efficient operation.
Advertisement — Continue Reading Below
A good curved boning knife makes all the difference. Large handle, flexible blade, easy to hone. If you’re serious about jerky, invest in the right tools
Slicing for Success
Once trimmed, slice the meat ¼-inch thick, cutting with the grain for a traditional chew or across it for a more tender bite. Length doesn’t matter. Consistency does. Even slices absorb marinade evenly and dry at the same rate.
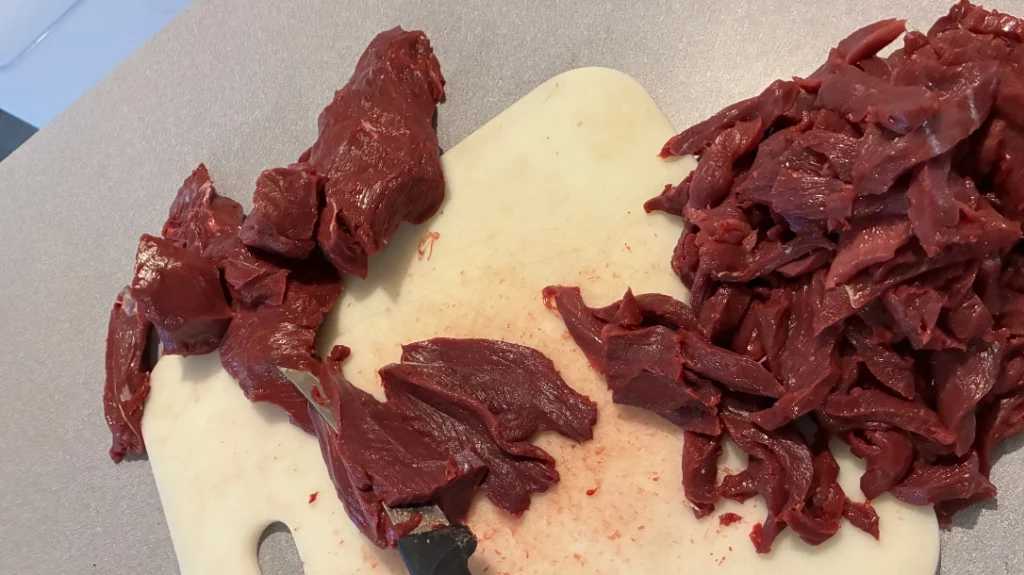
Don’t rush while slicing. I often take a break before slicing, just to reset and stay precise. Cutting uniformly thick slices matters so they dehyrate at the same rate.
Jerky Marinade
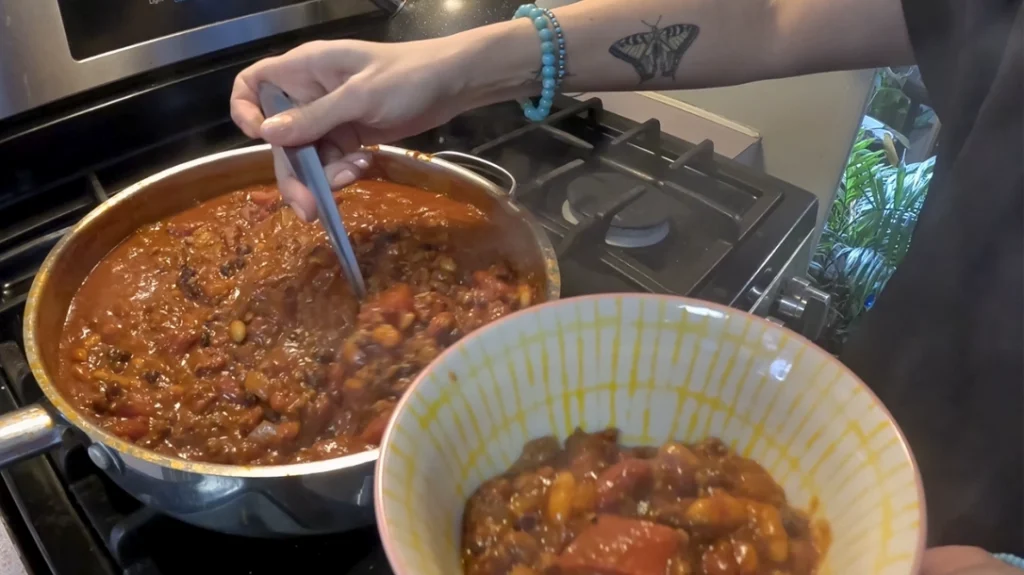
My go-to jerky marinade includes brown sugar, soy sauce, Worcestershire, liquid smoke, black pepper, red pepper, garlic pepper, garlic powder, and a small amount of pink curing salt. Ratios change based on batch size. There is no perfect recipe. Tailor it to what tastes best to you.
Advertisement — Continue Reading Below
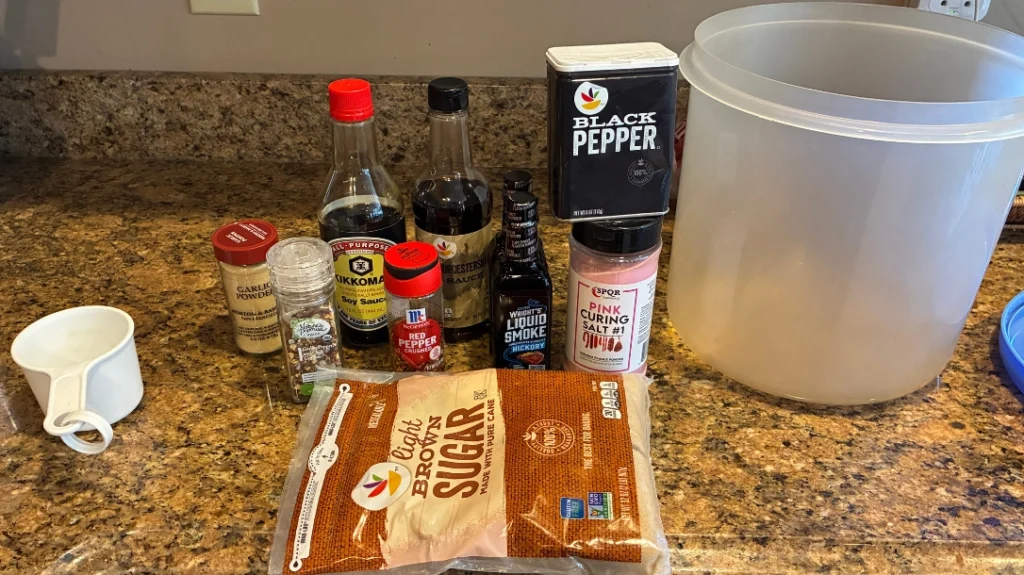
Combine meat and marinade in a sealed container and refrigerate for several days, turning occasionally to keep everything evenly coated.
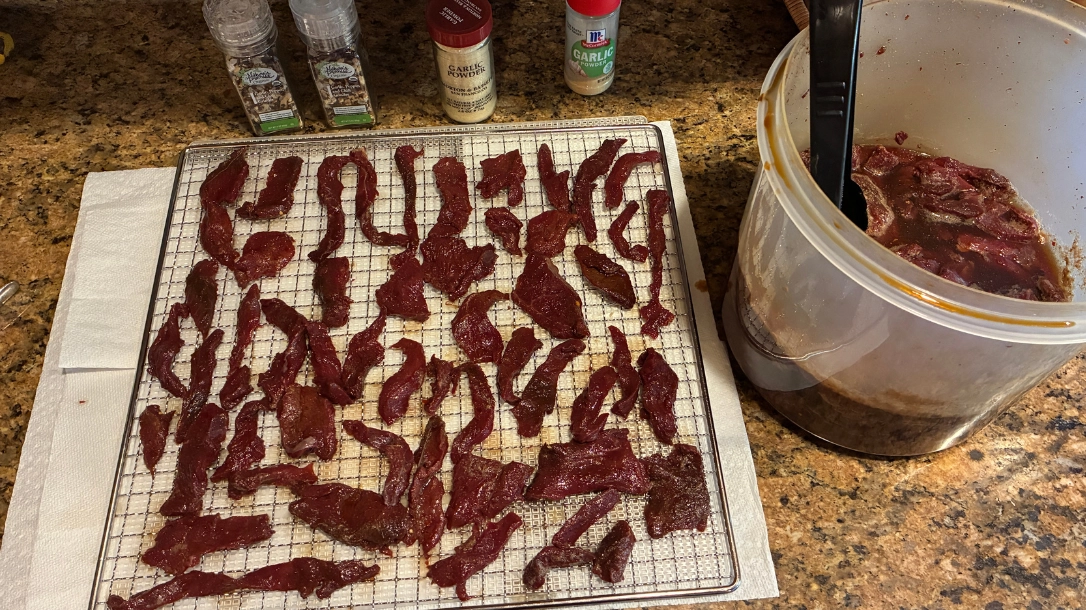
Dehydrating Time
After marinating, give the strips a pat dry to remove excess liquid. Lightly oil dehydrator racks to prevent sticking and lay the meat out with space between pieces. Apply a light sprinkle of garlic powder.
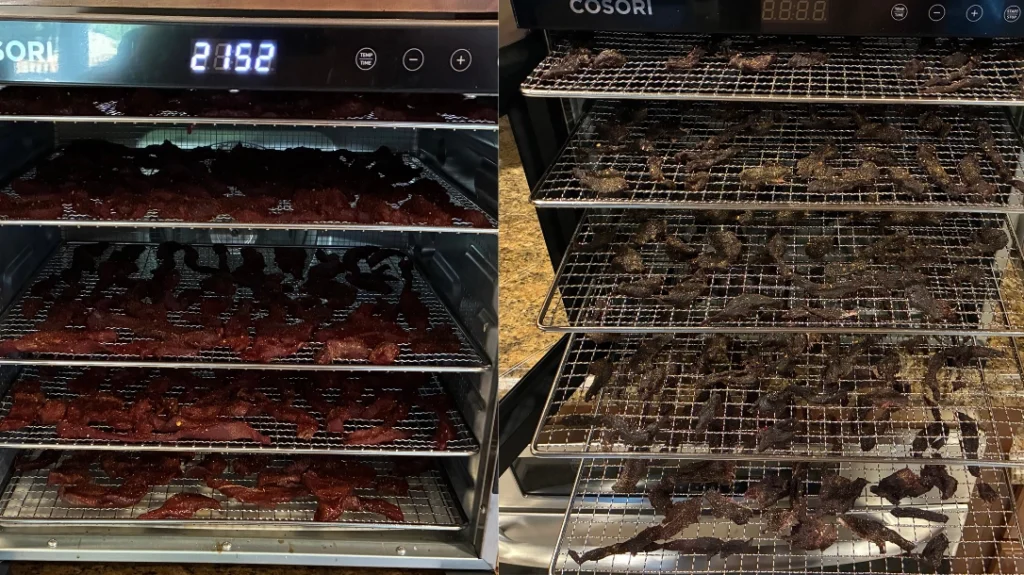
Use the largest dehydrator you can. Dehydrate on low for several hours, usually from ten to fourteen. Jerky is done when it bends but not breaks. The drier you let the jerky meat get in the dehydrator, the longer it will last.
Advertisement — Continue Reading Below
Storage
Store jerky in a sealed sandwhich bag. Keeping it in the refrigerator when not munching will extend how long the jerky can last. If you notice mold on jerky, it must be thrown away, no matter how tragic. Even jerky isn’t worth food poisoning.
If you make such a large batch and you are not willing to share, you can freeze it for several months. Around my house consumption rate usually exceeds the shelf life.
WHY OUR ARTICLES/REVIEWS DO NOT HAVE AFFILIATE LINKS
Affiliate links create a financial incentive for writers to promote certain products, which can lead to biased recommendations. This blurs the line between genuine advice and marketing, reducing trust in the content.